
To prevent night light leaks, check your camera’s seams and joints for gaps or loosened seals, as these are common entry points. Inspect the lens mount and focusing elements for misalignments or gaps, and make sure lens and filter edges fit snugly. Don’t forget to make certain the battery compartment and other openings are sealed tight. If you keep these tips in mind, you’ll be able to spot potential leak points easily and keep your shots clear.
Key Takeaways
- Inspect camera body seams and joints for gaps or deterioration that could allow light entry.
- Check the lens mount and focusing elements for proper alignment and potential gaps.
- Examine lens edges and filters for loose fittings or cracks that might cause leaks.
- Ensure battery compartments and all openings are properly sealed and latched.
- Store camera in padded cases with lens caps to prevent light intrusion during long-term storage.
camera light leak prevention kit
As an affiliate, we earn on qualifying purchases.
As an affiliate, we earn on qualifying purchases.
Check for Light Leaks at Camera Body Seams and Joints

Light leaks often occur at the seams and joints of your camera body, so checking these areas regularly is essential. Over time, seam tightness can loosen, and joint integrity may weaken, creating gaps where light can seep in. Inspect these areas closely for any signs of gaps, cracks, or deterioration. If you notice looseness, gently tighten screws or seals to restore a snug fit. Make certain that all joints are properly sealed, especially around access points like battery compartments or memory card slots. Maintaining good seam tightness and joint integrity helps prevent unwanted light from entering your camera, preserving image quality. Regularly checking these areas is a simple but effective way to avoid light leaks that could ruin your shots during nighttime photography. Additionally, monitoring the sealing integrity of your camera body can help identify potential vulnerabilities before light leaks occur, ensuring consistent protection against light intrusion. Being aware of camera maintenance practices can further extend the lifespan and performance of your equipment. Ensuring proper seal preservation can also contribute to maintaining optimal image quality over time. Conducting periodic inspections of camera components can help detect early signs of wear or damage that might lead to light leaks.
camera body sealant and gasket set
As an affiliate, we earn on qualifying purchases.
As an affiliate, we earn on qualifying purchases.
Inspect the Lens Mount and Focusing Elements for Gaps
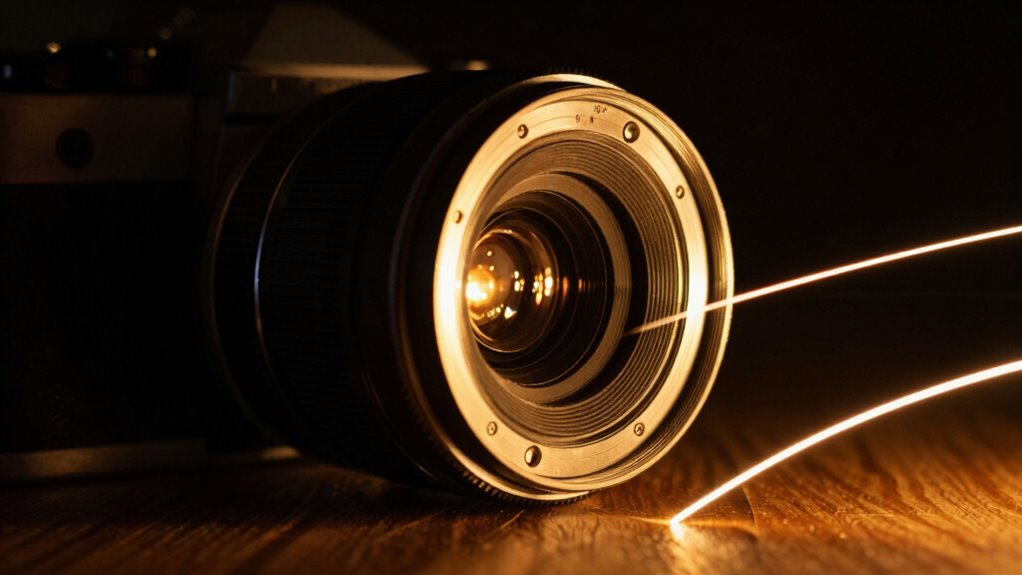
To prevent light leaks from affecting your photos, it’s important to carefully inspect the lens mount and focusing elements for any gaps or misalignments. Check the lens alignment to ensure the lens sits securely and evenly on your camera body. Gaps between the lens and mount can allow unwanted light to enter, causing leaks. Also, examine the focusing mechanism for proper operation; a misaligned focusing element could create small gaps that let light in. Make sure the lens locks firmly into place and that there’s no wobbling or looseness. If you notice any misalignment or gaps, clean the contacts and reseat the lens. Properly aligned lens mount and focusing components are essential to maintaining a light-tight seal and preventing leaks at night. Additionally, inspecting the focusing mechanism thoroughly can help identify any internal issues that might contribute to light intrusion. Regular maintenance and careful handling can help ensure all components stay properly aligned and sealed — paying close attention to lens assembly can also prevent unexpected light leaks. Performing a visual inspection of the entire lens and mount can reveal subtle issues that might otherwise go unnoticed. To further safeguard against light leaks, consider using lens gaskets or seals in your camera setup.
lens mount alignment tools
As an affiliate, we earn on qualifying purchases.
As an affiliate, we earn on qualifying purchases.
Examine Lens and Filter Edges for Light Intrusion

After ensuring your lens mount and focusing elements are properly aligned and sealed, it’s important to check the edges of your lens and filters for potential light leaks. Inspect the lens edges carefully for any gaps or irregularities that might allow unwanted light to enter. Pay close attention to the filter edges as well, especially if you’ve used filters that don’t fit snugly. Light can seep in through even small spaces, causing flare or unwanted reflections in your shots. If you notice any gaps or loose fittings, tighten or replace the filters. Using a soft cloth or lens cleaning brush around the edges can help you spot imperfections. Properly sealed lens and filter edges are crucial to prevent night light leaks that can ruin your images. Additionally, understanding light intrusion can help you identify and mitigate sources of unwanted light more effectively. Recognizing the causes of light leaks can guide you in taking preventive measures and safeguarding your photography setup. Ensuring a good seal also minimizes internal reflections, which can diminish image contrast and quality. Being aware of light-tightness in your gear can make a significant difference in your night photography results.
camera seam and joint repair kit
As an affiliate, we earn on qualifying purchases.
As an affiliate, we earn on qualifying purchases.
Verify Battery Compartments and Openings Are Sealed

Making sure your battery compartments and openings are sealed is essential to prevent unwanted light from sneaking into your camera or gear. Check the battery compartment for any gaps or loose seals that could let light in. If you notice worn or damaged seals, replace them immediately. Confirm that all sealed openings are securely closed and properly latched. Small cracks or misaligned covers can be sources of light leaks, so inspect these areas carefully. Remember, even a tiny opening can cause significant light intrusion, ruining your shots at night. Tighten or replace seals as needed, and always double-check that everything is snug before shooting. Proper sealing techniques can help prevent light leaks and protect your gear from dust and moisture. Ensuring your camera housing seals are intact is also crucial for maintaining a light-tight environment during nighttime shoots. Additionally, inspecting the weather resistance features can further safeguard against light infiltration caused by environmental exposure. Regular maintenance and seal inspections are key to keeping your gear in optimal condition and avoiding unexpected light leaks.
Ensure Your Camera Is Stored Properly in Bag or Cases
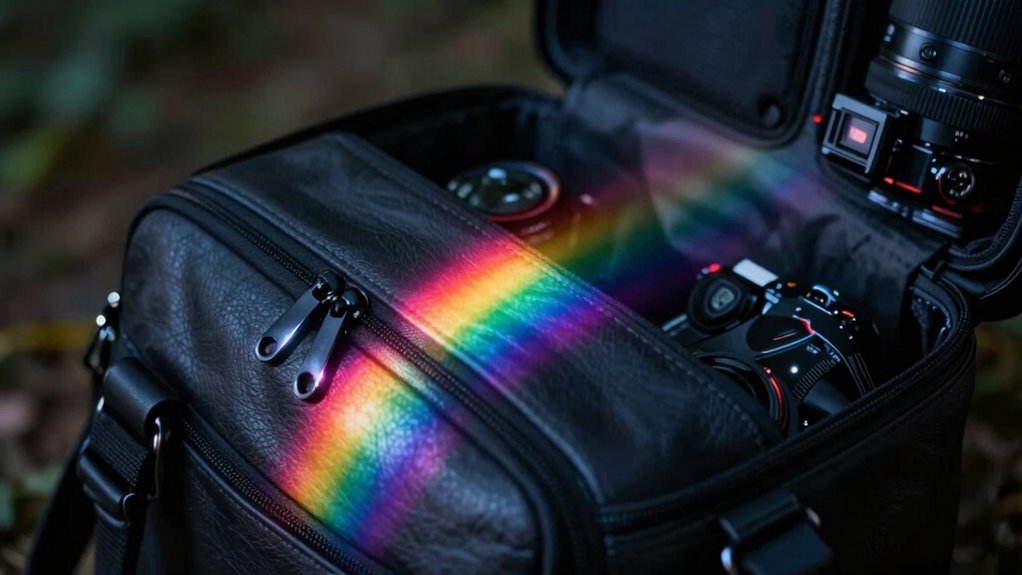
Storing your camera properly in a bag or case protects it from light leaks, dust, and accidental damage. To keep it secure, follow these steps:
Proper storage safeguards your camera from damage, dust, and light leaks, ensuring long-lasting performance.
- Ensure your camera strap is fastened securely to prevent accidental drops.
- Place the lens cap on correctly to block light and protect the lens from scratches.
- Use padded compartments or sleeves to prevent movement and impact.
- Regularly inspect your storage equipment for any signs of wear or damage that could compromise camera security.
- Proper organization and storage techniques can also help prevent light leaks and ensure your gear stays in optimal condition. Utilizing preventive maintenance can extend the lifespan of your camera and keep it functioning properly.
- Confirm that all openings, including battery compartments, are sealed tightly, to avoid light leaks during storage.
Proper storage minimizes exposure to unwanted light that could cause leaks during night shoots. Always verify your camera’s security, especially the lens cap placement, before storing it away. Keeping your gear organized and secure not only preserves image quality but also extends your camera’s lifespan. Incorporating best practices for storage can further enhance your camera’s protection and longevity.
Frequently Asked Questions
Can Internal Camera Components Also Cause Light Leaks?
Yes, internal camera components can cause light leaks. Sensor contamination or dust on the sensor can let in unwanted light, creating leaks. Additionally, issues in the lens assembly, like loose or damaged seals, can also allow light to seep in. To fix this, carefully clean your sensor and check the lens assembly for any damage or loose parts, ensuring everything is sealed properly and preventing internal light leaks.
How Do Temperature Changes Affect Light Leak Susceptibility?
Think of your camera as a sealed treasure chest; temperature swings can cause it to breathe. When temperatures fluctuate, thermal expansion may create tiny gaps, making it easier for light to sneak in. Rapid cooling also increases condensation risks, which can fog up internal parts and create leaks. To keep your camera airtight, avoid drastic temperature changes and store it in a stable environment, especially during night shoots.
Are There Specific Camera Brands More Prone to Light Leaks?
Some camera brands are more prone to light leaks because their lens seals and camera bodies aren’t as well-designed or maintained. For example, older models from brands like Canon or Nikon might have worn seals that let light in, especially if you don’t regularly check and replace them. You’ll want to inspect your lens seals and camera body for gaps or wear, regardless of brand, to prevent unwanted light leaks.
What Tools Are Best for Detecting Hidden Light Leaks?
Imagine scanning your camera like a detective hunting for lens flare shadows and film grain anomalies—tools like a flashlight or a small, bright LED work best. Use a magnifying glass to spot tiny light leaks, and a dark room helps reveal subtle leaks. A flashlight with a narrow beam lets you trace potential entry points, ensuring you catch every hidden light leak before it ruins your shot.
How Often Should I Perform Light Leak Inspections?
You should perform light leak inspections regularly, ideally during your camera maintenance routines, at least once a month. Frequent checks help with light leak prevention by catching issues early before they cause damage. If you shoot in challenging environments or notice unusual light spots, increase inspection frequency. Staying vigilant guarantees your camera stays in top condition and prevents costly repairs, keeping your images perfect and your equipment protected over time.
Conclusion
Think of your camera as a delicate vessel sailing through the night—tiny leaks can let in unwanted light and spoil your shot. I once overlooked a small gap in my camera’s seal, and it ruined a perfect night shot. Regularly checking those five spots guarantees your images stay pristine, like a well-sealed ship. With a little attention, you’ll keep the darkness at bay and capture flawless photos every time.