
To maximize your warranty claim, take clear photos that show the damage or defect from multiple angles with good lighting, ideally natural or bright. Focus closely on affected areas, including labels and serial numbers, to verify authenticity. Keep your images sharp and clutter-free, and organize them into categories before submitting. If you want detailed tips on capturing and organizing these images effectively, continue exploring the best practices to strengthen your claim.
Key Takeaways
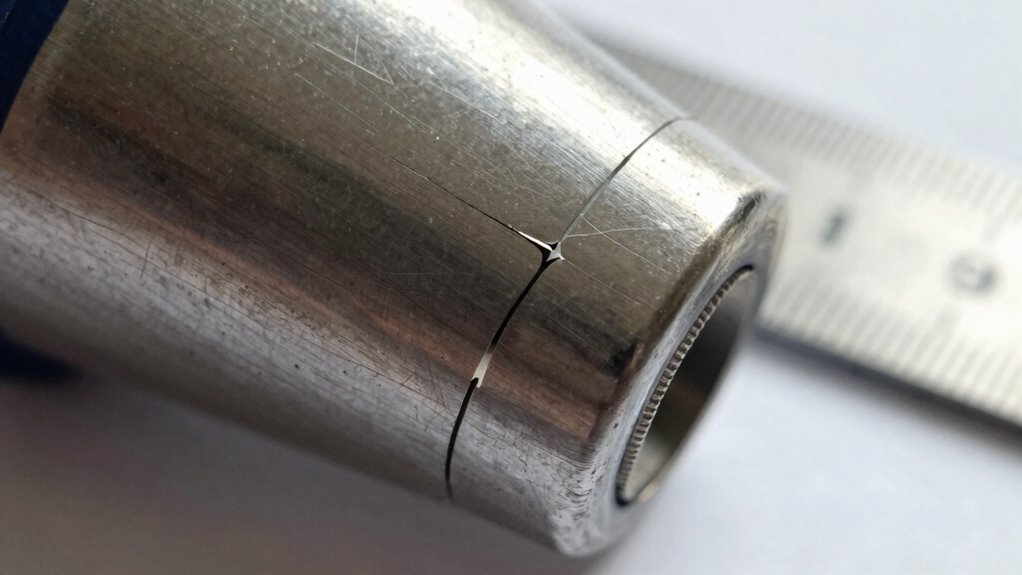
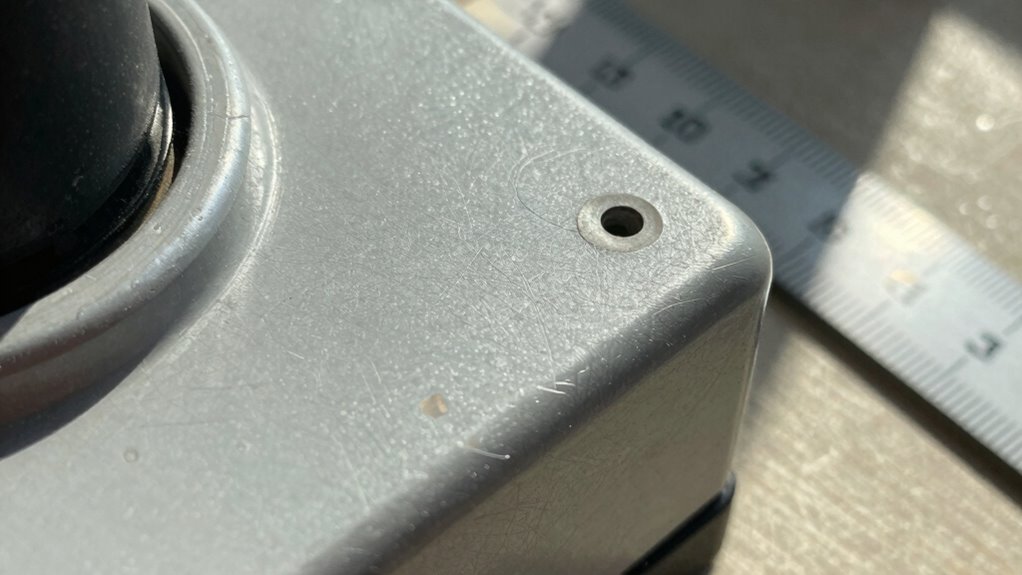
- Focus on clearly capturing the affected item, highlighting specific defects with close-up shots and multiple angles.
- Use bright, even lighting to ensure all details are visible and avoid shadows or blurry images.
- Photograph labels, serial numbers, and relevant documentation to verify product identity.
- Keep backgrounds uncluttered and camera steady to produce sharp, professional-looking images.
- Organize and label photos by category (damage, packaging, documents) before submitting to streamline the claim process.

4K Digital Camera for Photography Autofocus, 2026 Latest 48MP Vlogging Camera for YouTube with SD Card, 2 Batteries, 3" 180°Flip Screen Compact Travel Camera for Teens with 16X Zoom, Anti-Shake,Black
4K DIGITAL CAMERA WITH AUTOFOCUS: The newest 4K digital camera for photography captures videos in 4K resolution and…
As an affiliate, we earn on qualifying purchases.
As an affiliate, we earn on qualifying purchases.
Why Clear Photos Are Essential for Warranty Claims
Clear photos are vital when submitting warranty claims because they provide undeniable evidence of the defect or damage. Good photo lighting ensures your images are bright and detailed, making the issue obvious to reviewers. Poor lighting can obscure critical details, delaying or jeopardizing your claim. Additionally, choosing the right photo angles is essential; capture the item from multiple perspectives to give a thorough view of the problem. Avoid blurry or off-center shots, as they can undermine your case. Well-lit images taken from clear angles demonstrate professionalism and help customer service quickly assess the issue. Ultimately, sharp, well-angled photos make your warranty claim stronger, increasing the chances of a swift resolution. Using proper photographic techniques can further improve the clarity and effectiveness of your images.

Xenvo Pro Lens Kit for iPhone and Android, Macro and Wide Angle Lens with LED Light and Travel Case Black
✔ COMPATIBLE WITH ALL SMARTPHONES, TABLETS, and LAPTOPS including ALL iPhone models, Samsung Galaxy and Note, Google Pixel,…
As an affiliate, we earn on qualifying purchases.
As an affiliate, we earn on qualifying purchases.
What Items You Should Photograph for Your Warranty
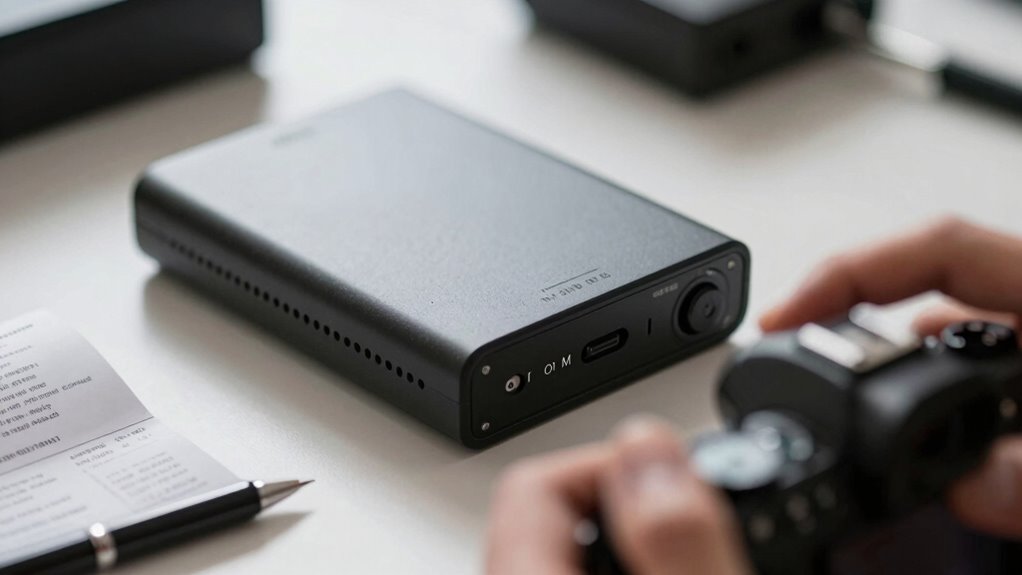
When preparing your warranty claim, focus on photographing the items most affected by the issue. Capture close-ups of product features that demonstrate the defect or damage, such as cracks, scratches, or malfunctioning parts. Be sure to include images that highlight how the product isn’t functioning as intended, especially if the defect impacts its key features. Additionally, photograph any labels or serial numbers that verify the item’s warranty expiration date. This helps establish your claim’s validity and confirms you’re within the warranty period. It is also helpful to understand contrast ratio and how it impacts the perceived image quality, as this may be relevant if your warranty involves display issues. Avoid photographing unrelated items or areas not impacted by the problem. Clear, detailed images of the affected product features and relevant identification marks will strengthen your claim and make it easier for the warranty provider to assess your case accurately.

JOILCAN Phone Tripod Stand, 68" Tripod for iPad iPhone Tablet with Remote Universal Holder Carry Bag, Travel Aluminum Tripod for Video Recording Photos Vlogging Compatible with iPad Pro iPhone Camera
【Versatile Tripod Kit】 Adjustable tablet tripod includes: 1* Aluminum Tripod, 1* Universal Phone / Tablet Holder, 1* Wireless…
As an affiliate, we earn on qualifying purchases.
As an affiliate, we earn on qualifying purchases.
How to Take Great Photos That Support Your Claim

To guarantee your photos effectively support your warranty claim, focus on capturing high-quality images that clearly show the issue. Use proper lighting tips, such as natural light or bright, even illumination, to avoid shadows and glare that can obscure details. Pay attention to photo angles; take shots from multiple perspectives to give a comprehensive view of the problem. Get close enough to highlight specific damage, but also include wider shots to provide context. Steady your camera or phone to prevent blurriness. Ensure the defect is in focus and well-lit. Avoid cluttered backgrounds that distract from the main issue. Clear, well-lit, and well-angled photos make it easier for the warranty provider to assess your claim accurately. Additionally, understanding visual documentation best practices can enhance the clarity and impact of your photos.

Torjim Softbox Photography Lighting Kit, 16'' x 16'' Professional Softbox Lighting Kit with 85W 3000-7500K LED Bulbs, Studio Lights for Photography/Video Recording/Live Streaming/Portraits Shooting
【Illuminate Your Creativity】 Torjim softbox lighting kit is made of high-quality PET fabric and a foldable nylon cover,…
As an affiliate, we earn on qualifying purchases.
As an affiliate, we earn on qualifying purchases.
How to Clearly Document Damage or Defects

Accurately documenting damage or defects is essential for ensuring your warranty claim is understood and accepted. To do this effectively, focus on these key points:
- Use proper photo lighting—natural light often reveals details better than shadows or dim settings. Bright, even lighting makes damage clear.
- Capture multiple photo angles—close-ups highlight specific issues, while wider shots show the overall context.
- Keep your images sharp and in focus, avoiding blurry photos that obscure the defect’s severity.
- Remember to review your photos to confirm they clearly show the damage before submitting your claim.
How to Organize and Submit Your Photos for a Smooth Process

Organizing your photos before submitting them can save time and prevent delays in processing your warranty claim. Start by grouping images into categories such as product packaging, defect details, and warranty documentation. Use a digital folder system to keep everything in order. Label each photo clearly, noting the date and context, so you can easily reference them if needed. Ascertain your images are high quality and well-lit. When submitting, include all relevant photos together in a single package or upload. Double-check that your warranty documentation is complete and matches the photos. To help streamline the process, consider this visual guide: document organization.
| Category | Example Photos |
|---|---|
| Product Packaging | Shipping box, labels, seals |
| Damage or Defects | Close-up of scratches, broken parts |
| Warranty Documentation | Purchase receipt, warranty card, serial numbers |
| Additional Information | Context photos, installation issues |
Frequently Asked Questions
How Many Photos Should I Include in My Warranty Claim?
You should include enough photo documentation to clearly demonstrate the issue, typically around 4 to 8 images. Make certain each photo meets image standards by capturing detailed, well-lit shots from multiple angles. Focus on close-ups of the damage, the serial numbers, and the overall product. This thorough visual record helps support your warranty claim and makes it easier for the claims department to assess the problem accurately.
Can I Edit or Enhance Warranty Photos Before Submitting?
You shouldn’t edit or enhance warranty photos before submitting them. Photo editing and image enhancement can alter the original details, possibly causing your claim to be rejected. Keep the images clear, true-to-life, and unaltered to accurately show the issue. If you need better clarity, retake the photos rather than editing them. Providing genuine, unedited images helps support your warranty claim and speeds up the approval process.
What Is the Best Time to Take Warranty Photos After Damage Occurs?
You should take warranty photos as soon as possible after damage occurs to guarantee accurate damage documentation. Timing considerations are vital because delays can lead to disputes or claim denial, especially if the damage worsens or gets cleaned up. Prompt photos provide clear evidence of the original condition, making it easier for warranty providers to assess your claim. Always document damage quickly to strengthen your warranty case.
Are There Specific Angles or Lighting Conditions Recommended?
When it comes to warranty photos, first impressions count, so get the lighting right and stick to angle recommendations. Use natural light whenever possible, avoiding harsh shadows, and take shots from multiple angles—front, side, and close-ups—to give a complete view. Good lighting tips include avoiding glare and ensuring details are clear. Proper angles help document the damage thoroughly, making your claim stronger and less likely to face delays.
How Do I Verify the Quality of My Photos Before Submission?
To verify your photo quality before submitting, check that the images have high resolution and clear details, guaranteeing they accurately show the issue. Zoom in slightly to see if the image remains sharp, indicating good resolution. Ensure proper lighting to avoid shadows or glare, which can obscure details. Review the photos on your device’s screen, looking for overall clarity and focus. If they’re crisp and well-lit, your photos are ready for submission.
Conclusion
Remember, clear, consistent, and engaging photos can dramatically determine your warranty’s success. By being thorough and thoughtful in your photography, you ensure your claim is convincing and complete. Stay sharp, organized, and attentive to detail, turning simple snapshots into powerful proof. With diligent documentation, you’ll diminish delays, diminish doubts, and deliver your demands with confidence. Keep these key qualities in mind—clarity, care, and consistency—and you’ll confidently conquer your warranty concerns.